How to Create a Rock Garden
Hey there, folks! Today, we’re gonna dive into the world of rock gardens – a fantastic way to spruce up your yard and add a touch of natural beauty to your home, eh? So grab your toque, let’s get started, and I’ll show you how to create a rock garden that’ll make your neighbours go, “Wow, that’s cool, eh!”
Step 1: Location, Location, Location, Eh?
Alright, first things first, let’s talk about where to put your rock garden. You want a spot that gets plenty of sun – at least 6 hours a day. So, find a sunny corner of your yard or garden, and that’s your canvas.
Step 2: Gather Your Tools, Buddy!
You’re gonna need some basic tools for this job. Grab a shovel, a rake, a wheelbarrow, and, of course, your trusty gardening gloves. Safety first, right?
Step 3: The Right Rocks, Eh?

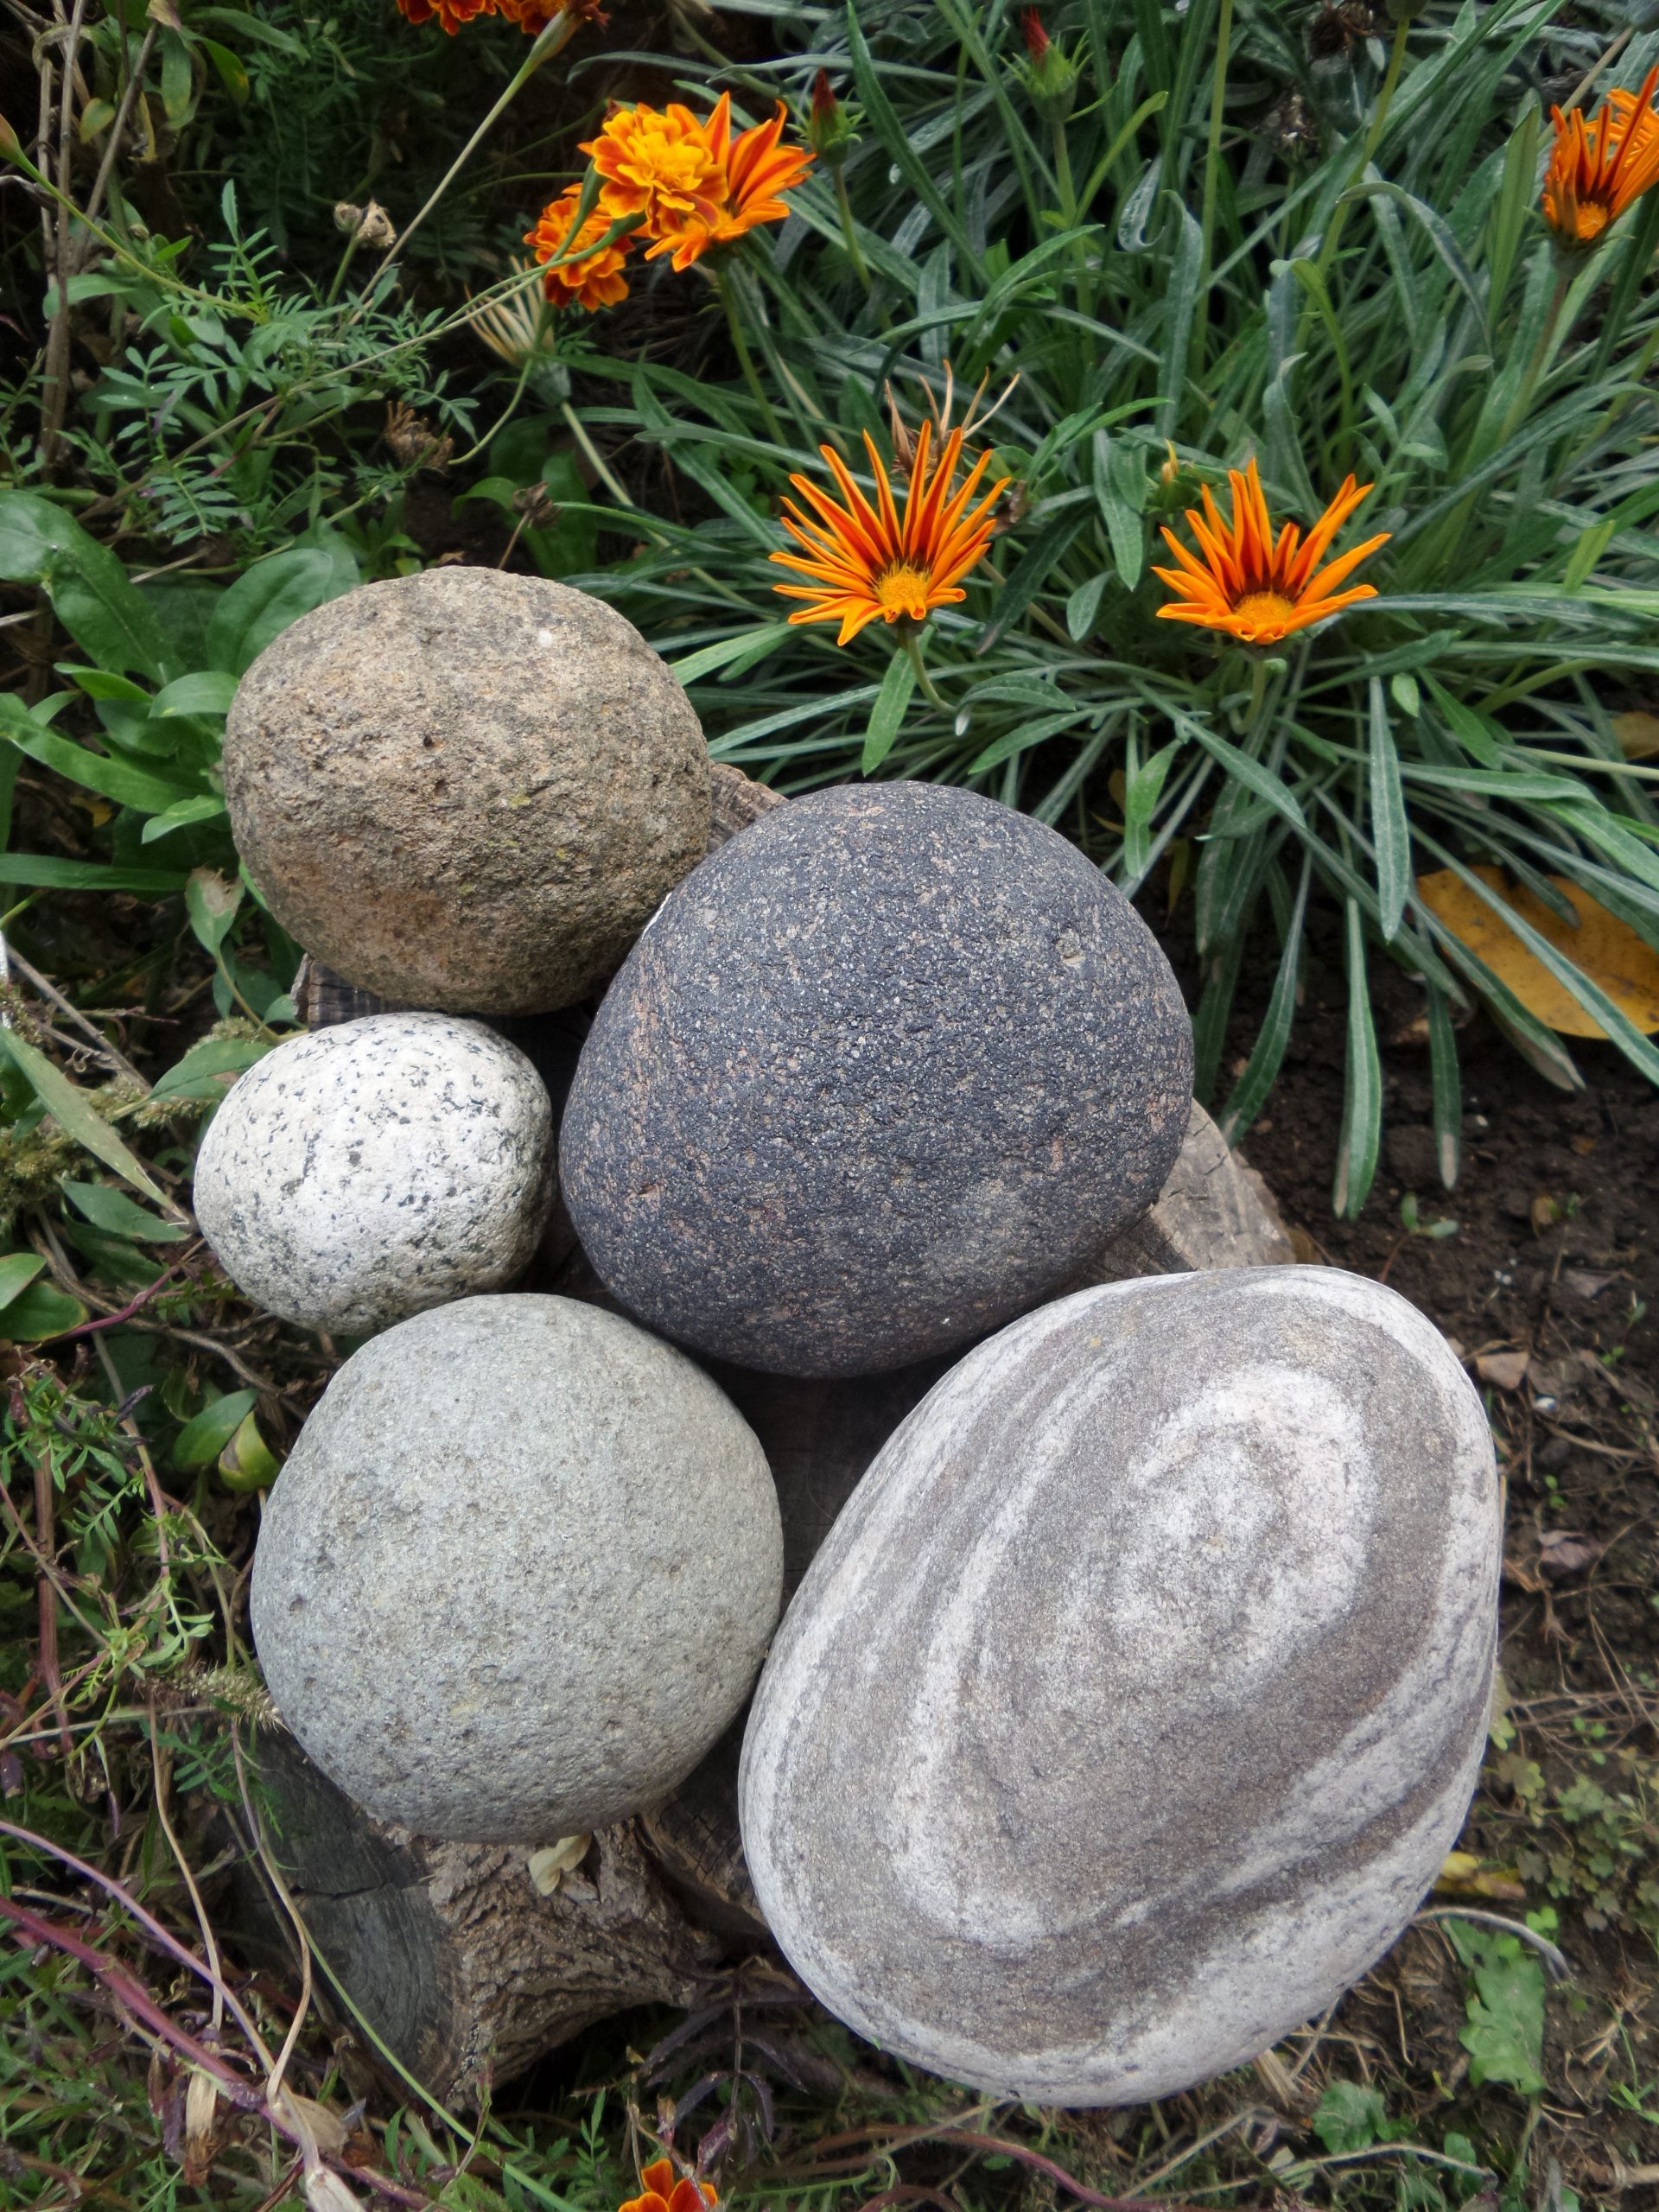
Now, let’s talk rocks! The stars of your rock garden. You can’t just pick any old rock you find lying around. You want rocks that are similar in size and shape. Go for a mix of larger boulders and smaller stones to add variety.
Step 4: Lay the Foundation
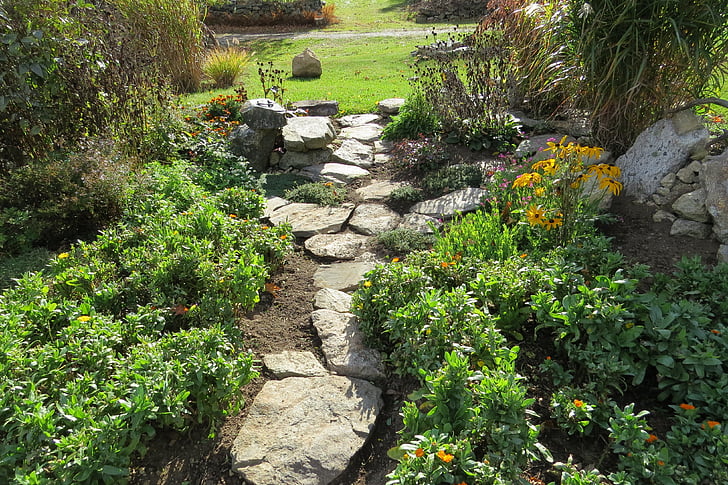
Start by digging a shallow trench where you want your rocks to sit. This will give ’em a stable base. Place your larger boulders strategically, leaving some space between them for smaller rocks and plants.
Step 5: Soil It Up, Pal!
Time to bring in the good stuff – soil! You’ll want a well-draining soil mix that’s not too heavy. A mix of garden soil and sand should do the trick. Fill in the gaps between your rocks with this mix.
Step 6: Planting Time, Eh?
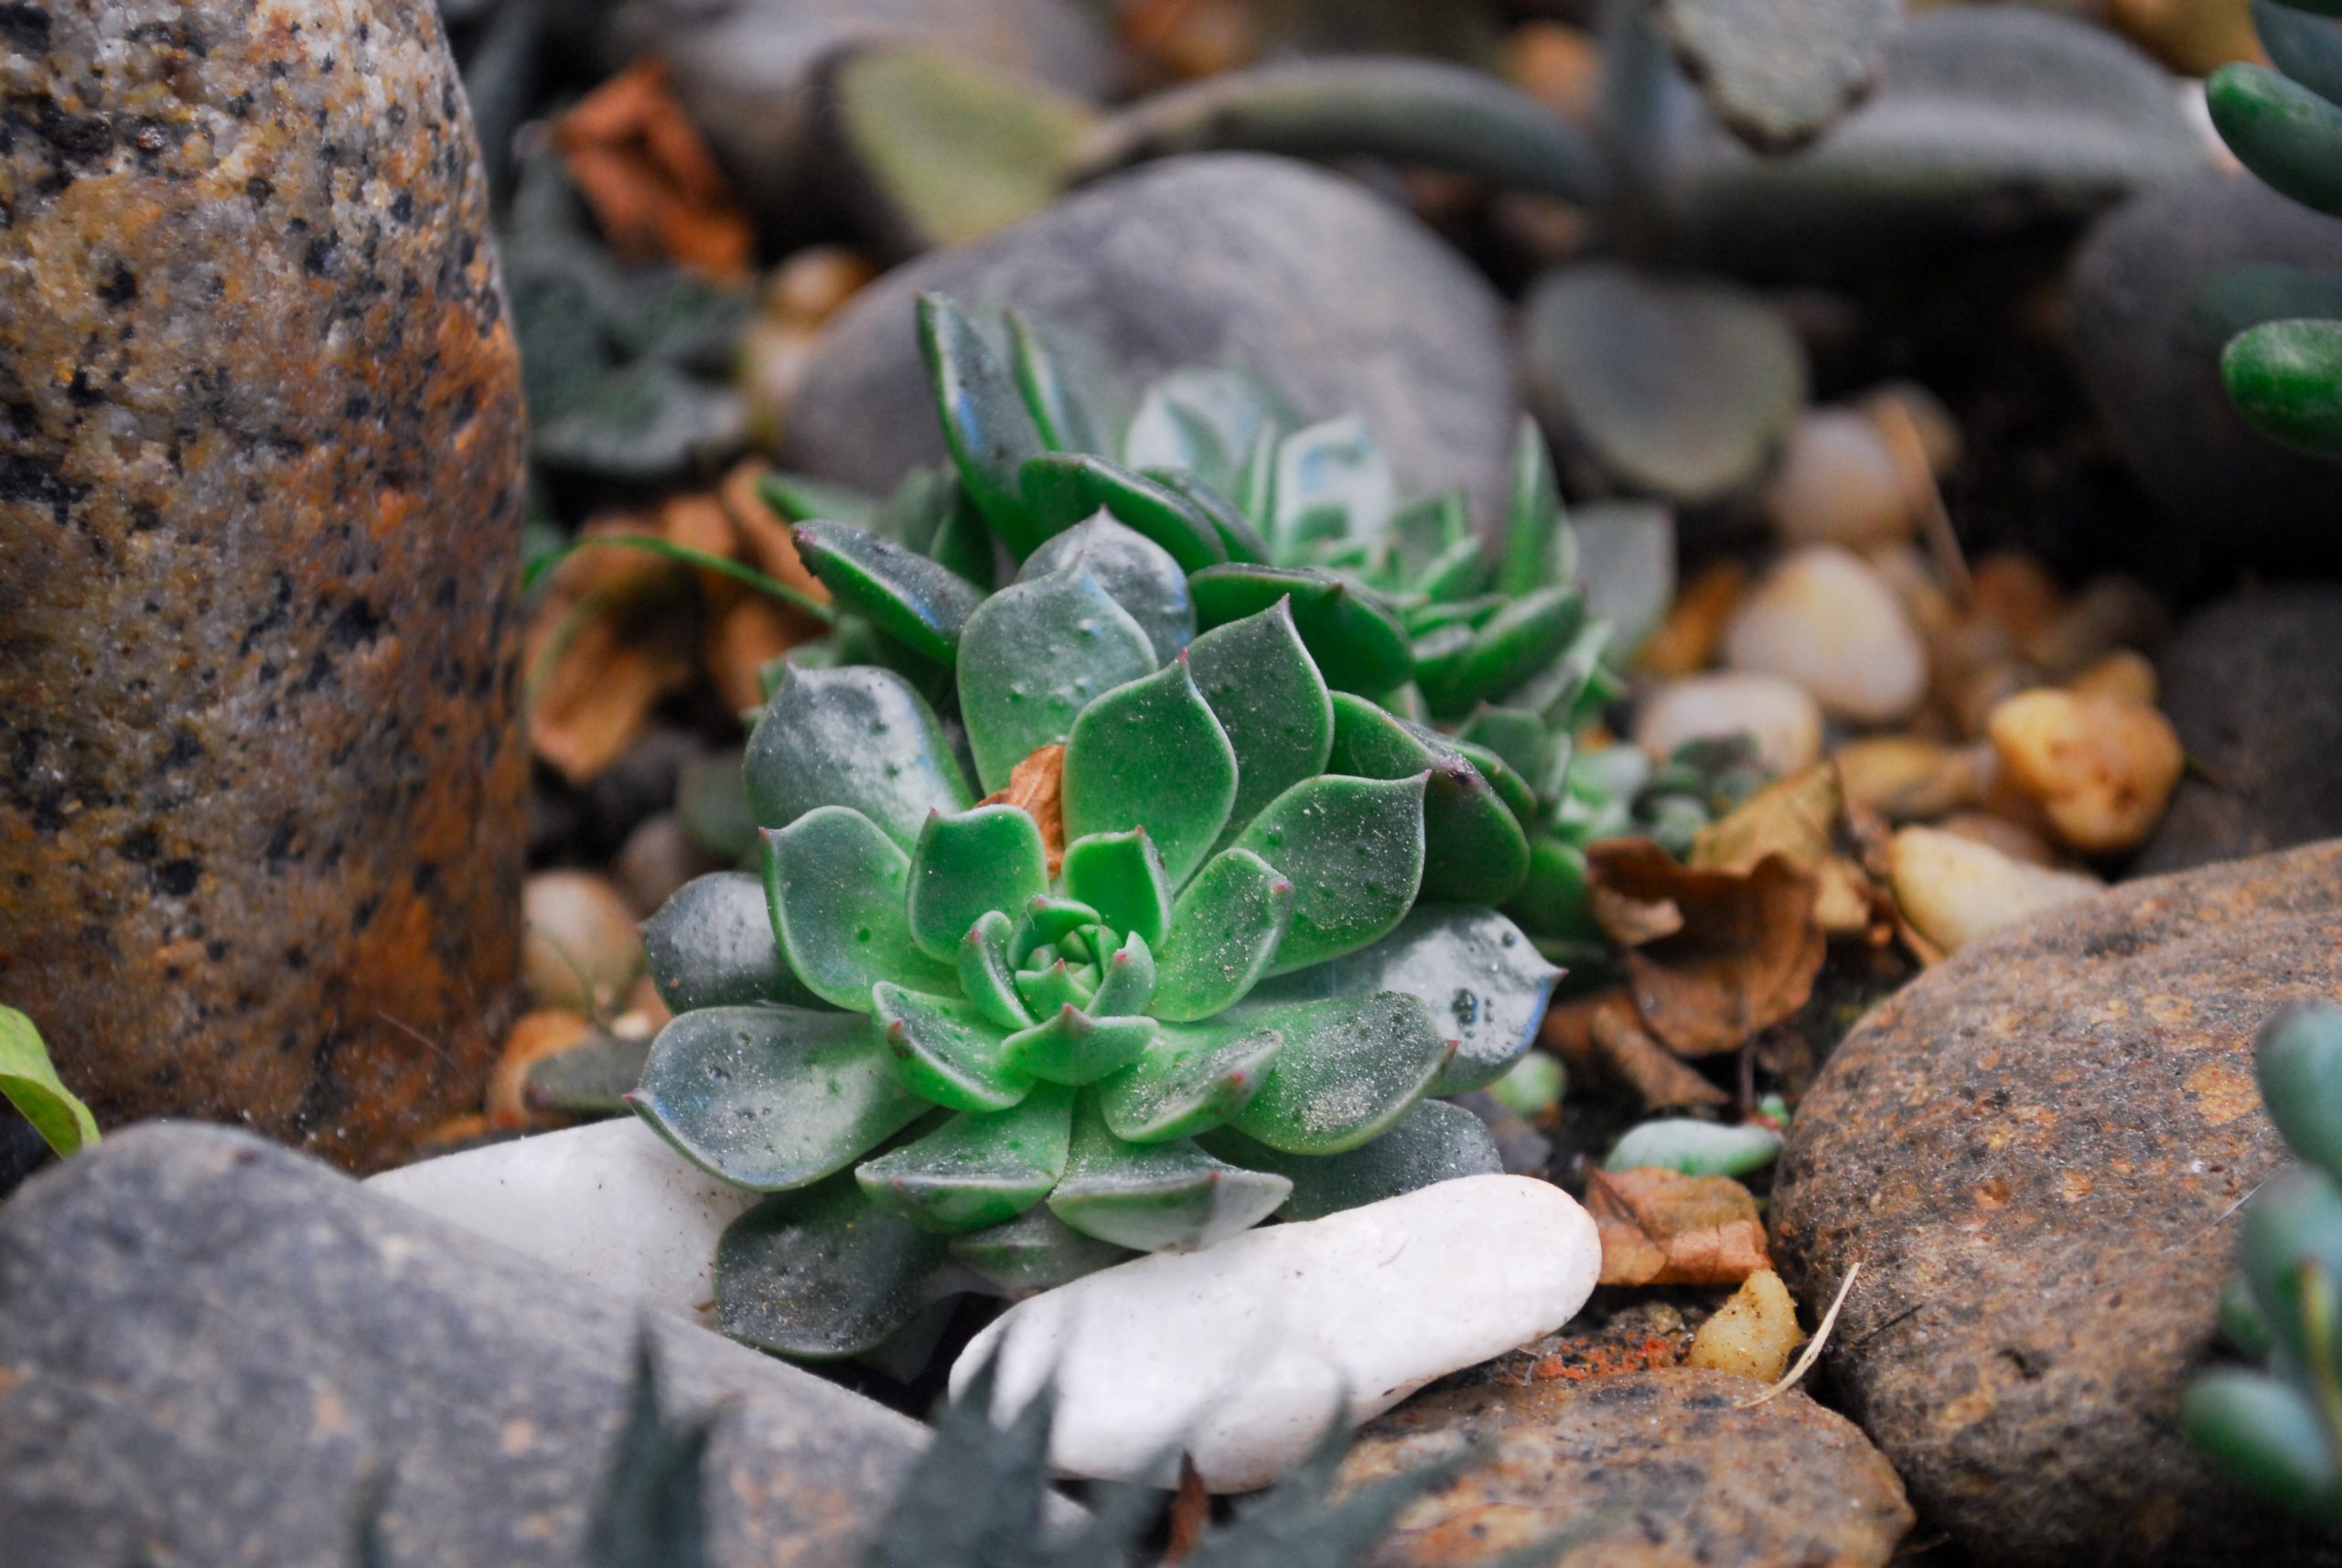
Now, for the greenery! Choose plants that thrive in rocky terrain and, if you’re a proud Canadian like me, consider some native plants. Creeping thyme, sedum, and alpine plants are great choices. Plant ’em between the rocks, and they’ll give your garden that natural, rugged look.
Step 7: Mulch It, Buddy!
To keep moisture in and weeds out, throw down some mulch. It’ll help your plants stay happy and your rock garden looking sharp.
Step 8: Water and TLC, My Friend
Don’t forget about watering. Your new garden buddies need a drink now and then, especially when they’re settling in. But don’t drown ’em! Keep the soil moist but not soggy.
Step 9: Keep It Tidy, Eh?

Lastly, maintain your rock garden. Trim your plants, clear away debris, and keep an eye out for any rogue weeds. A little TLC goes a long way.
Bonus Tip: Canadian Natives, Eh?
If you want to give your rock garden that true Canadian vibe, consider adding native plants like the showy aster or the eastern columbine. These beauties will attract local wildlife and give your garden an authentic touch of the Great White North.
And there you have it, folks – your very own rock garden, Canadian style! So grab your Tim Hortons coffee, sit back, and enjoy your new piece of natural art right in your backyard, eh?
Remember, it’s all about finding the right location, using the right tools, picking the right rocks, and giving your plants some love. Your rock garden will not only make your yard look amazing but also provide a tranquil space to relax and unwind.
So, get out there, start digging, and create a rock garden that’ll make you proud, Canadian style, eh?
And if you want some more inspiration, check out these rock garden design ideas or discover our favourite Canadian native plants for rock gardens. Happy gardening, my friends! ???


