6 Steps to Install Paver Edging
Summary
– Step 1: Define the type of installation of your paver edging
– Step 2: Laying out the edging
– Step 3: Dig the foundation
– Step 4: Pour a layer of concrete
– Step 5: Lay the pavers
– Step 6: Consolidate the installation
In the garden, edgings clearly delimit the different spaces and facilitate their maintenance. Made of paving stones, they are both aesthetic and extremely solid when installed according to the rules of the trade.
This post explains in detail how to lay a paver edging, either flush with the lawn or on top of it.
1. Define the type of installation of your paver edging

To delimit two areas of the garden with paver edging, you can choose between two types of installation: flat edging and raised edging.
Flat edging
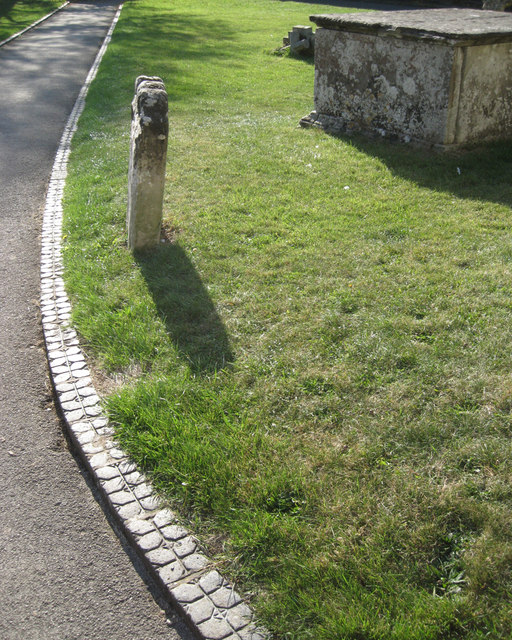
The flat edging is laid flush with the ground, no more than 2 cm above the level of the areas to be delimited.
This type of edging is convenient whenever it borders a lawn: the mower can straddle the edge without any problem, ensuring perfect mowing without using an edger.
An example of this type of installation is an edging made of pavers:
– separating a driveway from the lawn;
– or separating a grassy path from a flowerbed.
Raised edging
The raised edging leaves the pavers more visible above the ground.
You can use this type of installation, for example, to separate a gravel driveway from a flowerbed. Since there is no need to mow the lawn, the pavers can overflow as much as you want: the effect is decorative, and, on a practical level, the raised edging retains the soil of the flowerbed.
2. Set the edging
– Straight edging: use a chalk line to create a perfectly straight edging.
– Winding edging: use a flexible garden hose to draw the edging.
In both cases, mark the edging on the ground with a line of plaster or flour.
3. Dig the foundation
With a shovel, dig the foundations of the edging:
The trench’s width should be equal to the width of the pavers + 5 cm on either side or 10 cm more in total.
– The depth of the trench depends on the buried height of your pavers, to which you must add a few centimetres for the concrete that will be used to seal the pavers. For example:
◦ For a flat edging made with 6 cm, high pavers buried 4 cm, disburse 6 cm (4 cm buried paver height + 2 cm for the concrete).
◦ For a raised edging made with 18 cm high pavers, which will be buried 9 cm, disburse 13 cm (9 cm height of buried pavers + 4 cm for concrete, poured here in a slightly thicker layer).
4. Pour a layer of concrete
At the bottom of the trench, pour a layer of relatively dry concrete (made with 2 parts cement, 5 parts sand and 2 parts water).
– If the edging is long, work in 2-metre lengths.
– Place 2 parallel reinforcing bars in the concrete to solidify the base.
5. Laying the pavers
– Lay a line at the desired final height of your edging (2 cm from the ground for a flat edge, 8 to 10 cm for a raised border).
– Lay the pavers one next to the other, spacing them about 1 cm apart.
– Drive them into the fresh concrete with a mason’s hammer, using the height of the chalk line for perfect horizontal alignment.
Note: To be on the safe side, check the alignment of the pavers by placing a board with a spirit level on top. If necessary, correct the horizontal alignment of the pavers with a mason’s hammer. Alternately, you can contact professionals in Melbourne.
6. Consolidate the installation
– Pour a little concrete between the pavers and on the sides of the trench.
– Smooth the sides and joints with a trowel.
– Remove excess concrete with a wet brush.
– Allow 24 hours to dry.
Materials needed to lay a paver edging.
| Brush | Starting at $3 |
| Grass brush | About $5 |
| Cement | About $1.50/kg |
| Garden string | Starting at $10 |
| Concrete irons | $3 per 6 m |
| American hammer | $10 approx. |
| Tape measure | Starting at $4 |
| Spirit level | Starting at $4 |
| Shovel | $20 approx. |
| Wooden boards | According to species and dimensions |
| Filler plaster | Starting at $3 per kg |
| Sand | About $6/kg |
| Mason’s trowel | Starting at $4 |
| Hose | Starting at $5/25 m |
How did you find this post? Remember to leave your comments below.
Read more here:


