In the realm of garden and landscaping, the driveway is the welcoming pathway that sets the tone for your property. Pavers, with their versatility and aesthetic appeal, have become a popular choice for creating stunning driveways. This comprehensive guide will walk you through the process of designing and laying out your perfect driveway with pavers, transforming your outdoor space into a paradise of its own.
Crafting Your Vision: Initial Considerations
Purposeful Design
Before diving into the world of pavers, define the purpose of your driveway. Is it primarily functional, serving as a pathway for vehicles? Or do you envision it as a focal point, seamlessly blending with your landscaping to enhance curb appeal? Clarifying these aspects will guide your design choices.
Material Selection
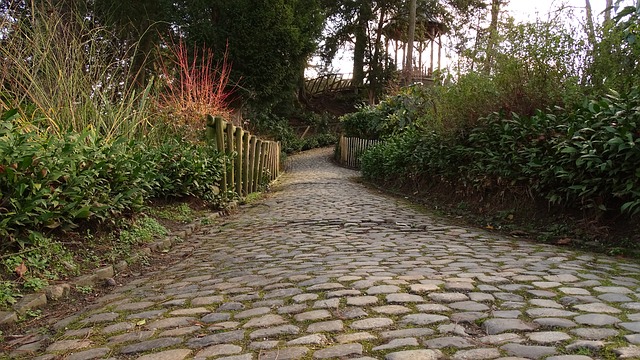
Pavers come in various materials, each with its unique charm. Concrete, brick, and natural stone are popular choices. Consider the aesthetic you want to achieve, the climate of your region, and the maintenance requirements when selecting the material for your driveway.
Planning for Success: Designing Your Paver Driveway
Layout Considerations
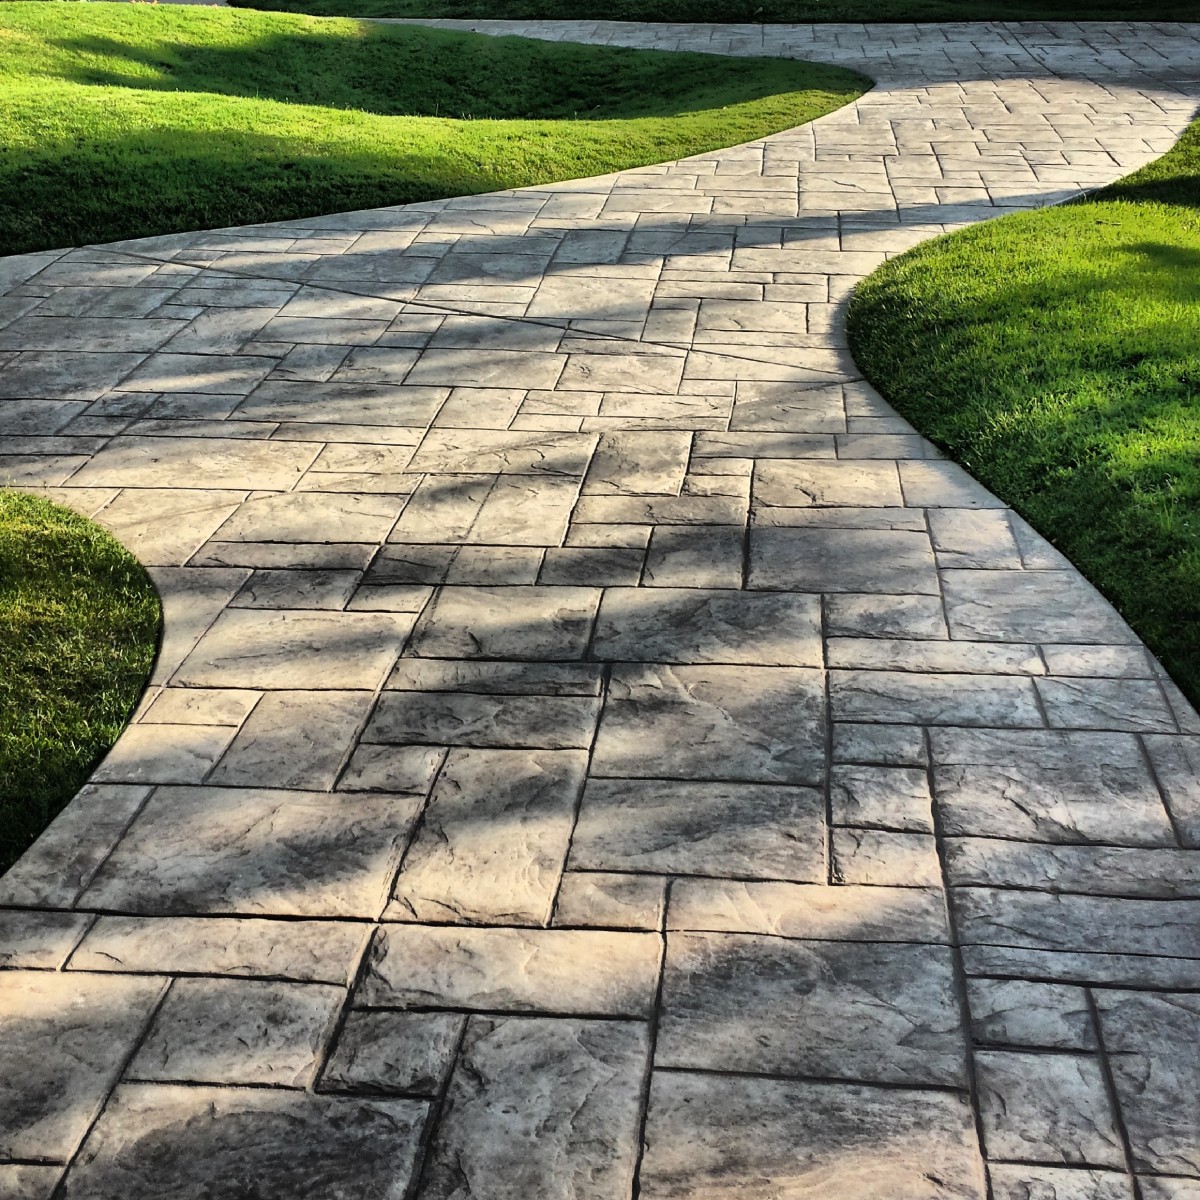
Evaluate the layout of your property and decide on the shape and dimensions of your driveway. Straight or curved? Expansive or compact? The layout should complement the overall design of your home and landscaping, creating a harmonious flow.
Edge Restraints
To maintain the integrity of your paver driveway, incorporate edge restraints. These can be in the form of concrete curbs, plastic edge restraints, or even natural elements like plants. Edge restraints prevent the pavers from shifting, ensuring durability and longevity.
Getting Your Hands Dirty: Excavation and Base Preparation
Excavation Depth
Proper excavation is crucial for a stable driveway. The depth will depend on the type of pavers and the soil conditions. Generally, a depth of 6 to 12 inches is suitable. Remove any existing pavement or debris, ensuring a clean slate for your new driveway.
Base Material
Lay the foundation for success with a well-prepared base. Use crushed stone or gravel as the base material, compacting it thoroughly. The base provides stability, drainage, and prevents settling over time.
Building the Puzzle: Paver Installation
Pattern Choices
Pavers offer a myriad of pattern options, from classic herringbone to intricate basket weave. Choose a pattern that complements the architectural style of your home and adds visual interest to your driveway. Consider incorporating contrasting colors for a dynamic look.
Installation Precision
Place the pavers with precision, ensuring uniform gaps for jointing sand. Use a rubber mallet to secure them in place. Take your time during this phase to create a seamless and visually appealing surface.
Sealing the Deal: Jointing and Sealing
Jointing Sand
After the pavers are in place, spread jointing sand over the surface. The sand fills the gaps between the pavers, providing stability and preventing weed growth. Use a broom to sweep the sand into the joints, ensuring even distribution.
Sealant Application
To enhance the longevity and appearance of your paver driveway, consider applying a sealant. Sealants protect against stains, weathering, and color fading. Choose a sealant suitable for your paver material and apply it according to the manufacturer’s instructions.
Curb Appeal Flourish: Landscaping Around Your Paver Driveway
Green Borders
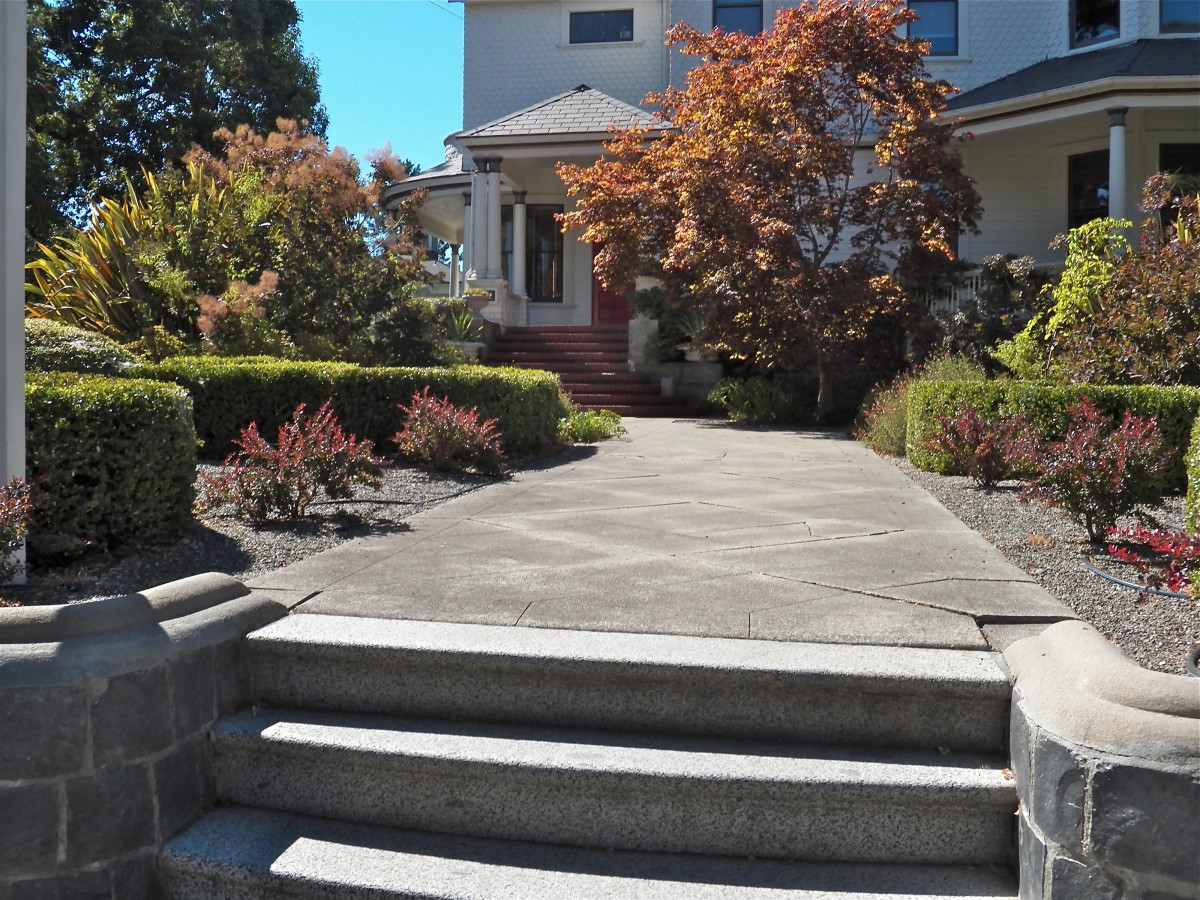
Soften the edges of your paver driveway with greenery. Planting flowers, shrubs, or creating garden beds along the sides adds a touch of nature and enhances the overall curb appeal. Choose plants that thrive in your climate for a low-maintenance landscape.
Outdoor Lighting
Extend the visual appeal of your driveway into the evening with outdoor lighting. Incorporate pathway lights, spotlights, or even solar-powered fixtures to illuminate the pavers and highlight the landscaping elements.
Maintenance Matters: Caring for Your Paver Driveway
Regular Cleaning
Keep your paver driveway looking pristine by regularly cleaning it. Sweep away debris, and use a mild detergent or specialized paver cleaner to remove stains. Avoid harsh chemicals that may damage the sealant or the pavers themselves.
Weed Prevention
Maintain the joints between the pavers to prevent weed growth. Periodically inspect and refill the joints with additional jointing sand as needed. A proactive approach to weed prevention will keep your driveway looking immaculate.
The Final Touch: Enjoying Your Paver Paradise
Completing your paver driveway is a fulfilling accomplishment, transforming your outdoor space into a paradise of beauty and functionality. Embrace the process, add your personal touch, and relish in the joy of a well-designed and meticulously crafted paver driveway.
Closing Notes
May your journey into the world of paver driveways be filled with creativity, satisfaction, and lasting beauty. Share your thoughts or experiences with paver projects in the comments below, contributing to a community of outdoor enthusiasts and landscaping aficionados.
