4 Easy Steps to Create A Beautiful Hanging Flower Basket
Contents
Zoom in on hanging flowers
Step 1: Prepare the container for hanging flowers
Step 2: Fill the container with soil
Step 3: Install the plants to create a hanging flower display
Step 4: Maintain your hanging flowers
In the garden or on a balcony, hanging flowers have a lot of charm, especially “English” hanging flowers, which mix several flowers with foliage and even grasses.
Here are all the explanations you need to express your creativity and create a flowery hanging decoration.
Zoom on the floral hangers
Traditionally we saw mostly monochrome suspensions, filled with a single variety of flowers: ivy geraniums, petunias, bidens, surfinias, blue scaevola, diascia, bacopa, verbena …
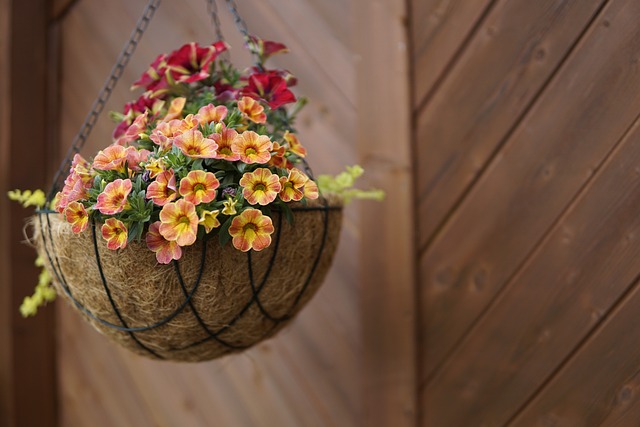
We increasingly see “English-style” flower suspensions, mixing several varieties of flowers, foliage and sometimes grasses. More delicate to create and very aesthetic when the plants are well chosen, these suspensions allow everyone to exercise their creativity by composing a unique flower basket.
Note: in these English-style baskets, foliage, grasses or a touch of white help to link the colours of the different blooms and avoid the colours clashing too directly.
1. Prepare the container for hanging flowers
The main containers for hanging flowers are terracotta terrines, plastic terrines and metal baskets.
Terracotta bowls are attractive but heavy. Moreover, it favours the evaporation of water and does not suffer the slightest forgetfulness of watering.
The plastic terrine is less aesthetic but lighter. Contrary to the terracotta bowl, it does not promote water evaporation but rather retains it, which can lead to root rot in rainy weather.
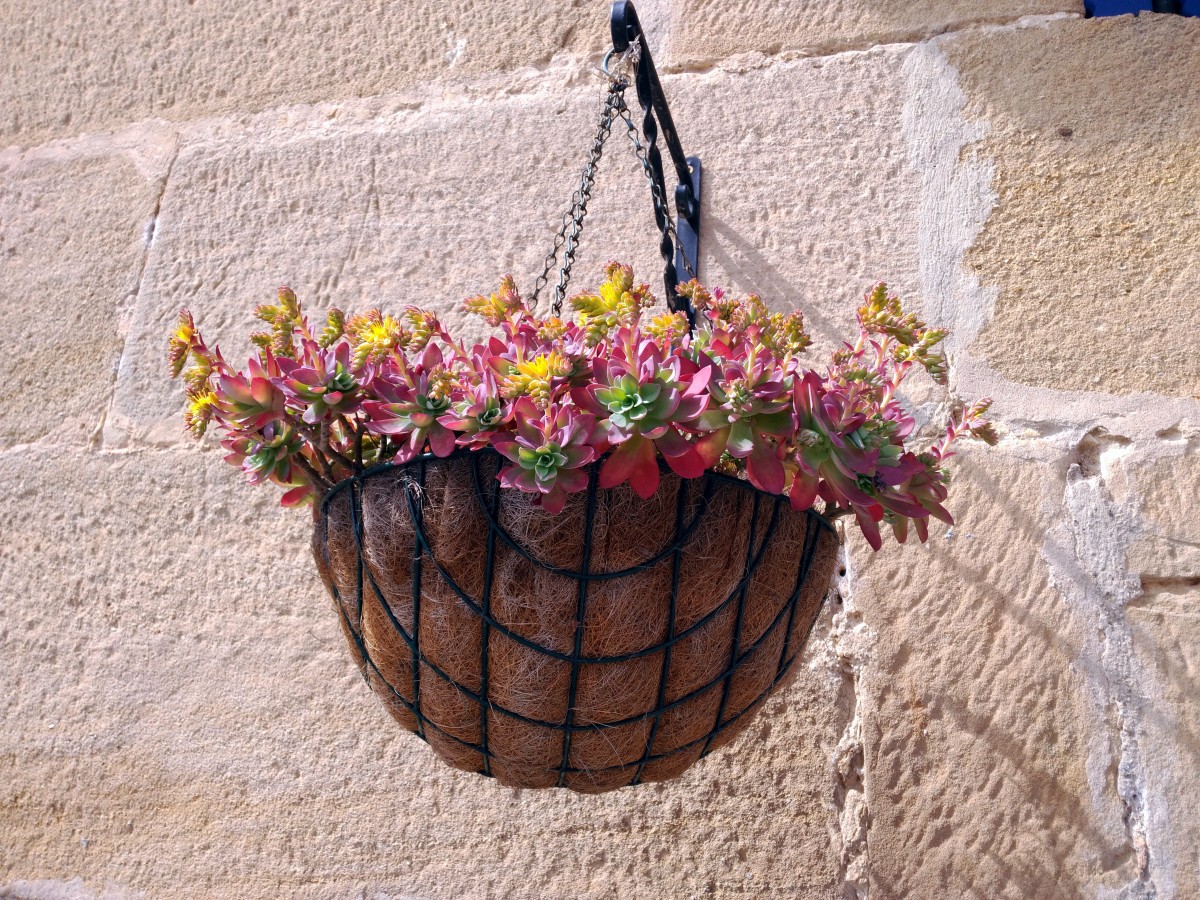
The metal basket is light and aesthetic. Choose a basket already lined with coir.
As a precaution, cover the coir with a horticultural felt that will retain the soil.
If your basket is hung on a balcony, place a plastic cup (like the ones you put under flower pots) at the bottom of the basket to prevent water from running directly onto the balcony.
2. Fill the container with potting soil
Choose a good quality potting soil, ideally one that is “special for hanging flowers”: among other qualities, it contains clay, which allows for less frequent watering and facilitates the rehydration of the soil.
Fill your basket only halfway with potting soil.
3. Set up plants to create flowering hanging baskets
Soak the perennial cups for about 10 minutes in a basin of water before removing the plants.
Start by placing the center plants first, followed by the peripheral plants, which you will tilt slightly outward.
Make sure your arrangement is balanced and pleasing to the eye. Move plants around as needed.
Add potting soil to the top of the container and tamp lightly.
Adding fertilizer for the first month is unnecessary if you have used a “special hanging plant” potting soil. Push a cone of slow-release fertilizer into the soil using a simple potting soil.
Water thoroughly, even if the weather is rainy.
4. Maintain your hanging baskets

The soil of the hanging baskets must always remain moist, which requires very regular watering: proceed with a long-spouted watering can without wetting flowers and foliage to avoid developing diseases.
One month after planting, regularly bring a liquid geranium fertilizer every 10 days.
Don’t forget to pinch (cut) occasionally the stems to promote compact flowering.
Remove spent flowers regularly.
Materials needed to create flowering hanging baskets
Watering can with head
Basin
Fertilizer
Gradual release fertilizer in cones
Geotextile felt
Hanging basket
Potting soil
Hope this post will be helpful for you. Remember to jot down a few words in the comments below.
Read more: Flowering Your Terrace: 10 Hanging Plants


