Summary
– Garden plan: introduction
– Creating your garden: a basic project or ground plan
– Plan for the creation of the garden
– Creation of the garden: the planting plan
Garden plan: introduction
A plan is essential even if you design your garden yourself, without the help of a landscaper. A garden plan is carried out in 3 steps: the basic idea, the creation plan, and the planting plan.
Creating your garden: a basic plan or ground plan
The first step is the basic plan:
– Start with a rough draft on which you will cover all the existing elements: house and outbuildings, pond or pool, walls, fences, terraces, pits, underground pipes, walkways, trees to be preserved, etc.
– Take the measurements of your land and the various fixed elements and record them on a sheet of paper, if possible, on a scale of 1/100th (1 cm = 1 m).
– Make a copy of this plan and keep the original carefully: it will be your base plan, on which you will also indicate the cardinal points, to find out where the sun comes from.
Plan for the creation of the garden
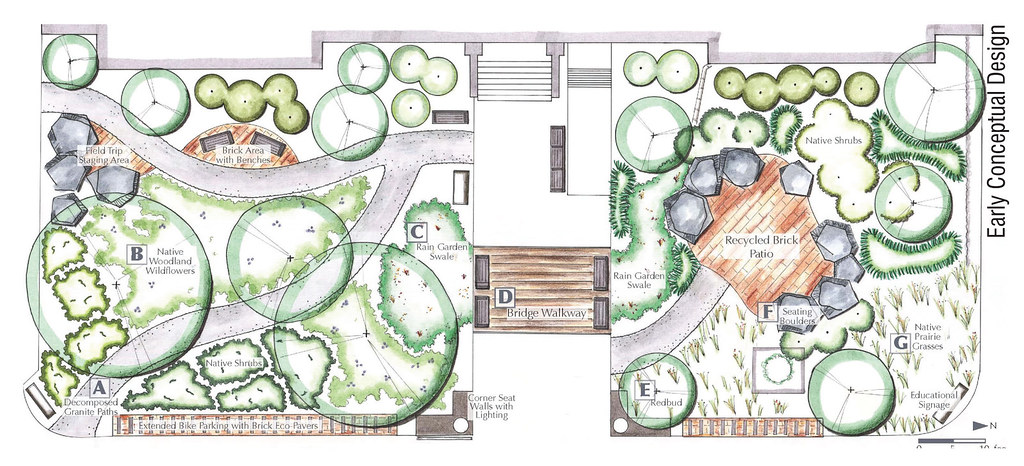
Now work on photocopies of your base plan or on layers that you will overlay on your base plan. On the creation plan should appear:
– all the elements of the base plan,
– plus any new features planned: terraces, paths, trees, flowerbeds, lawn or meadow, grove, hedges, orchard, vegetable garden, rose garden, pond, children’s playground, etc. Think about the different parts of your future garden and sketch their location on the plan. Do not yet decide what type of plants you will plant. Concentrate instead on the broad masses:
– As a general rule, keep the center of the garden as clear as possible, especially when space is limited.
– Remember to provide interesting perspectives and views, especially from the house.
– Also, see how you can hide any unpleasant aspects.
– Draw pathways (walkways, accesses) on the plan, then mark them out on the ground with plaster.
◦ Do some practical field tests to check that your paths are intuitive enough.
◦ If not, walkers will not respect them, trying to use a short cut.
Tip: it is a good idea to make several creative plans by positioning the large masses differently until you find the most harmonious layout.
At this stage, it is essential to check the exposure of the different parts of your plan:
– a terrace partially shaded during the day can be welcome;
– a vegetable garden needs sunshine,
– while a flowerbed can also be considered in mid-shade or full shade. Don’t forget to take into account the shadows cast and check in the field.
Creating the garden: the planting plan

It is now a matter of detailing the large plant masses carried on your creation plan.
– At this stage, it is practical to make a plan for each part of the garden, on a larger scale than the creation plan, to show all the details, IE. The name and location of each plant.
– Remember to vary the textures, shapes, and heights of the plants; insert scented plants if you wish. – Don’t forget to include a few evergreen plants.
– Use colored pencils to get a first idea of the general harmony.
– Make sure that the plants you are planning will benefit from adequate sunlight and soil.
With the plan in hand, you can then move on to the next step: buying the plants! Want an expert’s opinion? Consult the LIBARDI ISLAND LANDSCAPING CORP. website.


1 thought on “How to Make a Garden Plan”